How to make professional Roblox GFX's
Video guide: How to make a custom Roblox profile picture in 5 minutes
Making Roblox GFX's (graphics) is a fun and creative process that I've spent quite a bit of time learning. Whether it's for thumbnails or profile pictures, GFX's allow me to bring avatars to life in a more detailed and creative way. So here's a guide on how I personally create Roblox GFX's.
Required Tools and Software.
Before getting into the details, Here are the tools I use for making GFX's
- Roblox studio: To be able to download Roblox content such as your avatar.
- Blender: A free and open source 3D rendering software that lets me import Roblox models and create realistic scenes with advanced lighting and textures.
- Photo Editing Software: This is optional but using a tool like Photoshop or Krita can add additional touches to your GFX, like adding text or color grading. I personally use Photoshop
You will also need the Load Character plugin by AlreadyPro. This allows us to import any avatar into Roblox studio so we can download it from there.
Step one: Finding the Avatar in Roblox Studio
The first thing I do is select the avatar that I want to be featured in my GFX. Usually this might be from subscribers on my channel that I will do for a video or from commissions from my website ajrobloxgfx.com . But you can pick a cool avatar from random accounts on Roblox or what you are probably doing is making your own profile pic so use your own avatar!
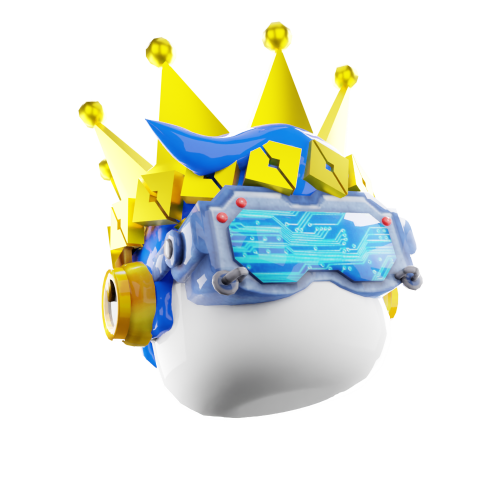
Using the Load Character plugin I import my own avatar into Roblox Studio and since my style of GFX's are quite minimalistic, I remove every body part except the head, and any unnecessary decals like the face. It usually looks like this:
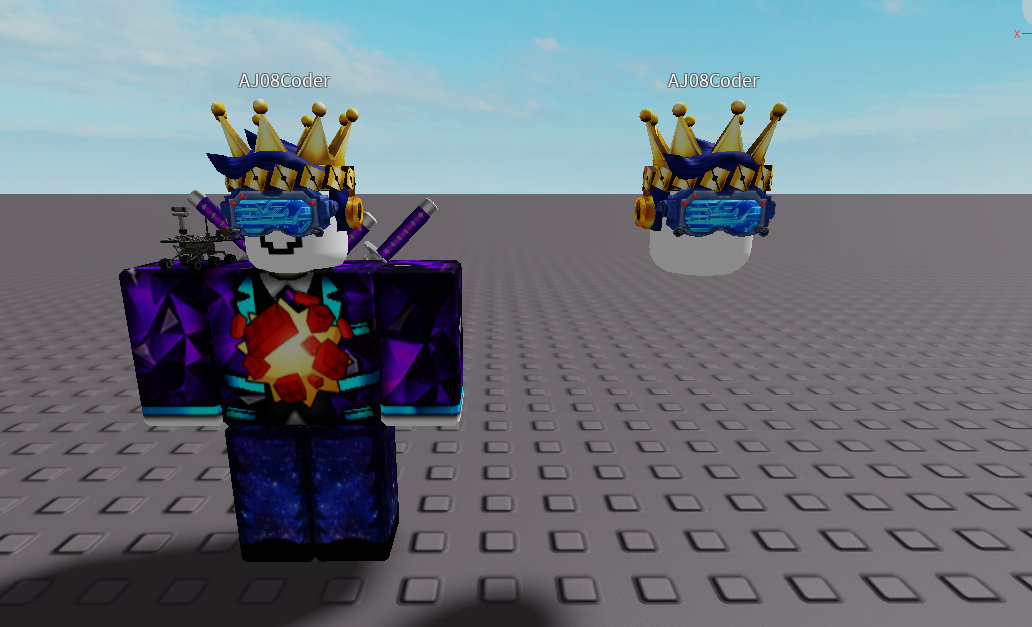
Before (Left) → After (Right)
Step 2: Blender!
Blender is where the 3D rendering magic happens. After launching Blender, the next step is to import the Roblox avatar into the software.
As blender can sometimes be very confusing and hard to use at first, I have provided a link to a template where you can position your avatar and all the lights are already set up for you.
Import the OBJ file: In Blender, I go to “File” > “Import” > “Wavefront (.obj)” to bring in the file I exported from Roblox Studio. I locate the OBJ file and imports it. Once imported, the character appears in the Blender workspace.
Camera setup: To make the GFX visually appealing, camera positioning is important. I switch to camera mode and position the camera to capture the avatar at an interesting angle. If you are new to blender, Following a basic tutorial is very helpful. I also have a full video guide to this whole process. Usually I use a close up view of the avatar and rotate it slightly to give a floating effect.
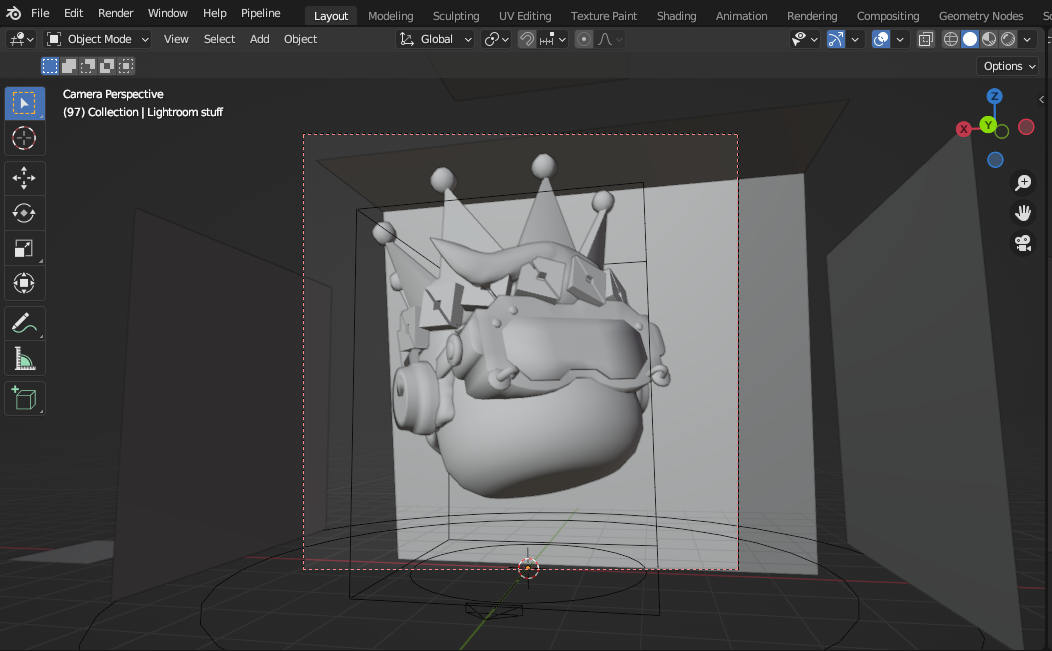
Step 3: Lighting and Materials
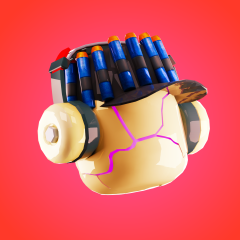
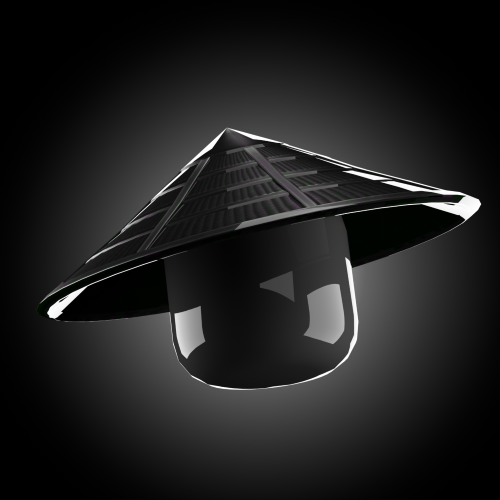
Lighting is one of the most critical parts of GFX creation. The right lighting can make an avatar look realistic, enhance shadows, and show off the textures. I usually spend a lot of time adjusting lights to get the perfect aesthetic I'm going for. Materials also help immensely in determining the look. Since I personally use a more minimalist look to my GFX I either keep the original textures or completely replace them with a singular color.
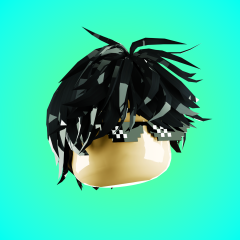
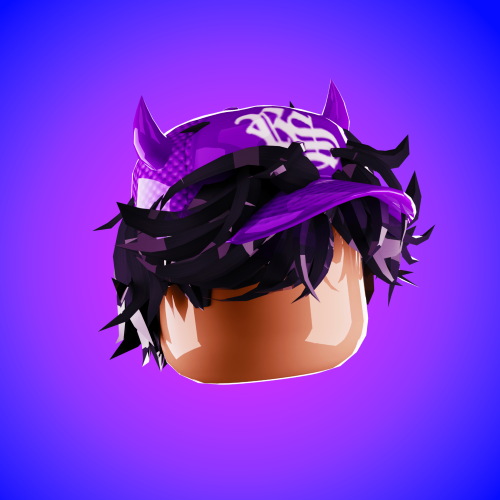
Again, check my full video guide for a more in depth guide but for example in this GFX, I changed the textured hair to a single black color because it looked more minimalistic to me.
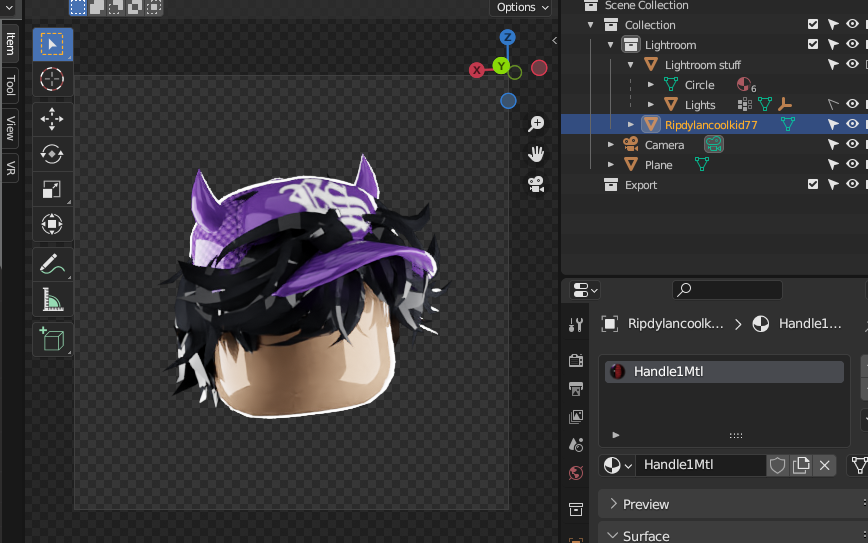
Another big part of GFX is showing off the lighting which is why every material's Roughness (how shiny the object is) is at zero. This gives the cool reflections and lighting effects you usually see in GFX's. I can also do this for materials that for example need to be more metallic. So crowns or chains that are made of metal can actually look realistic and have that metal material.
Step 4: Rendering the scene
Once everything is finalized - the lighting and materials, I'm ready to render the image.
Rendering in Blender:
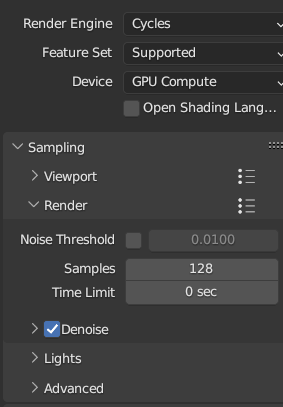
I adjust the render settings to ensure the final image is high quality. Since I'm making a profile picture I render it at a 1:1 aspect ratio at 3000x3000. I also switched the render engine to Cycles for better lighting and shadow effects even though it might take a bit longer to render compared to Blender's Eevee engine.
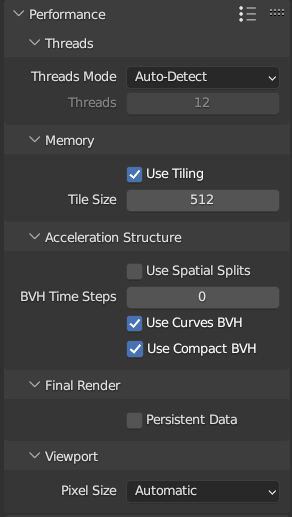
In the performance tab switch to the Lower Memory preset as my computer isn't that powerful and I also turn on “Transparent Background” in the Film section as I want to edit it later in Photoshop.
Here are my settings:
Waiting for the render:
Depending on the complexity of the scene and the settings, the rendering process can take anywhere from a few minutes to over an hour. I usually keep the settings balanced to avoid excessively long render times but still achieve a high-quality result. This also includes enabling the Denoise option which means you can turn down the samples but still have a clear image!

Final render is transparent
Step 5: Post-Processing in Photoshop
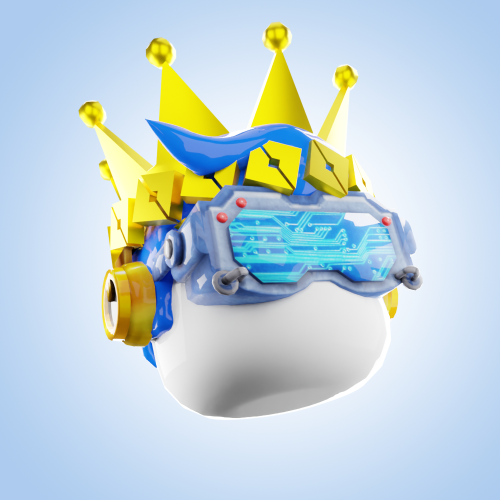
Although it looks fine right now, To take it to the next level I add a gradient background and color grade it using a Vibrant layer and curves.
I adjust the brightness, contrast, and saturation of the image. I might also add some effects like glow to emphasize certain elements. I also use filters to make the colors pop or add some artistic effects, depending on the GFX's intended style. For this minimalistic style, I usually just add a simple gradient background and color grading but sometimes I do add other effects.

Photoshop layers
And finally after all of that, I export the image as a PNG file and send it to the user!
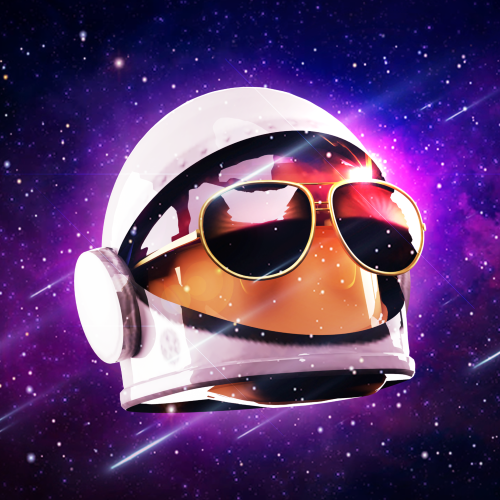
More effects shown on far left image
Making Roblox GFX combines creativity and technical skills. From posing avatars in Roblox Studio to rendering in Blender and final editing, each step lets you personalize and enhance your characters. It's a fun way to bring your avatars to life with your own artistic touch.
Written by: AJ Roblox GFX